Two ways? which is best way to connect an Oculus Quest 2 to a PC?
There are two methods to connect an Oculus Quest 2 to a PC: via an Oculus Link connection (or another high-quality USB-C cable) or wirelessly via Air Link. This will enable you to access a variety of PC-only VR experiences and allow you to take advantage of your computer’s processing capacity to produce better on-screen images. Let’s find out the best way to connect an Oculus Quest 2 to a PC.
What is the purpose of the Oculus Quest 2?
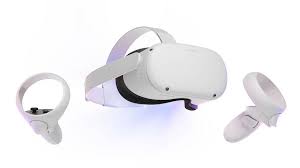
The Oculus Quest 2 VR headset is the second in the Quest series of virtual reality headsets. It’s a battery-powered, standalone headset, similar to the original Oculus Quest, that allows you to freely walk about your physical and digital play environments without fear of stumbling over a wire.
Without the use of external sensors, Oculus Insight converts your actions into virtual reality regardless of which way you’re facing. From anywhere in your playspace, look around, duck for cover, and change the tide of the battle.
Oculus Quest 2 has necessary PC specs and system requirements. The operating system must be at least Windows 7/8/10, and macOS must be 10.10+ (x86). You’ll need a processor that runs at least 2.0 GHz, such as an Intel i5-4590/AMD Ryzen 5 1500X or above. A least of 2GB of RAM is also necessary.
The Quest 2 comes pre-loaded with a few free games to help you acquire a better understanding of how VR works and how to utilize the controls. These were quite useful for my family, as we had never experienced virtual reality before, and they were also a lot of fun.
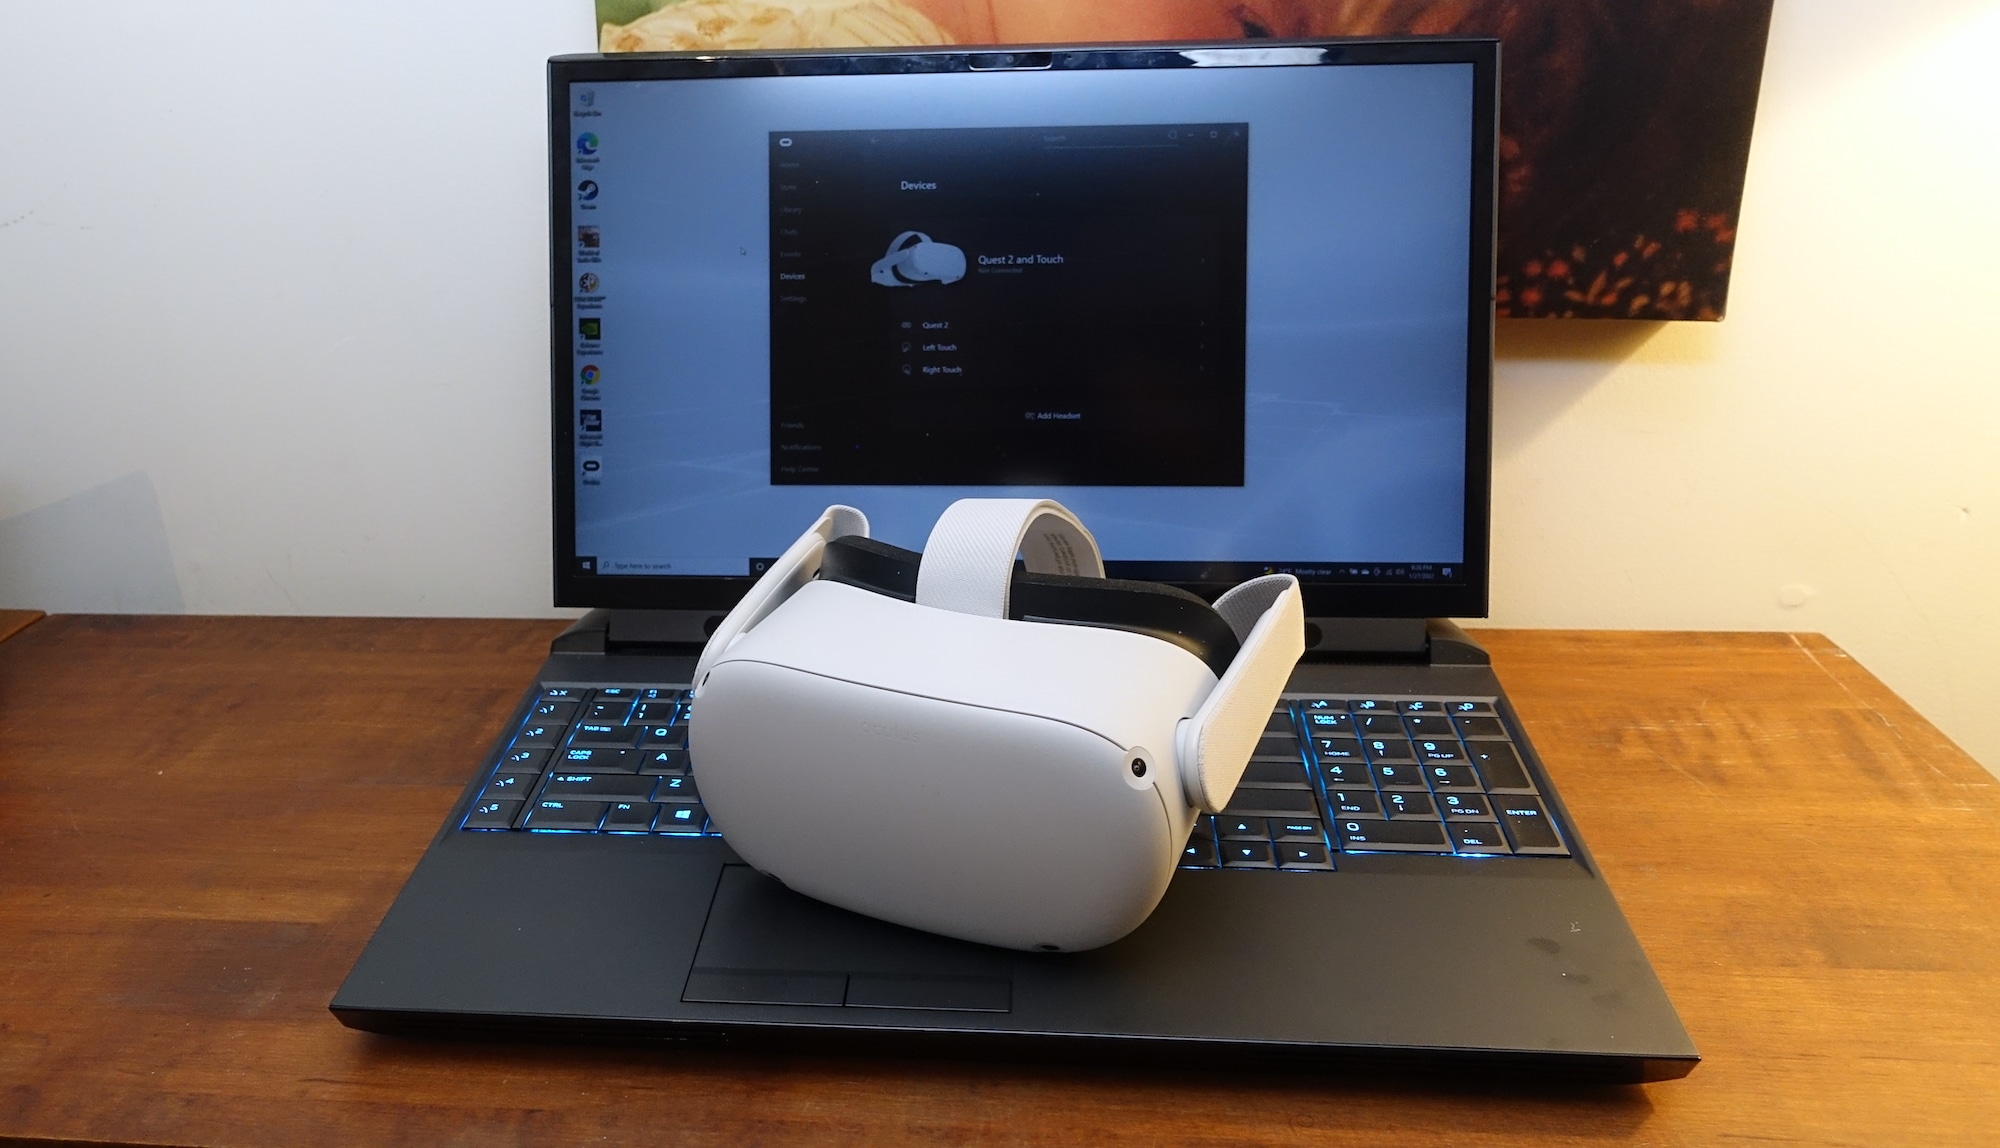
In only a few steps, you can connect your Oculus Quest 2 to a PC.
Using Oculus Link, connect an Oculus Quest 2 to a PC.

Follow the steps below to connect your Oculus Quest 2 to a PC using Oculus Link if you prefer a wired connection. Both the Oculus Quest and Quest 2 headsets should function with this strategy. The official Oculus Link cable or a high-quality USB-C 3.0 cable can be used. However, not all third-party cables are rated for VR performance, so read individual evaluations.
Step 1: Check the compatibility criteria to ensure that your PC and headset meet all of the necessary hardware and software.
Step 2: On your computer, open the Oculus app and turn on your headset.
Step 3: Plug one end of the USB or Oculus Link cable into a USB 3.0 port on your computer. After that, insert the other end into your headset.
Step 4: In virtual reality, you’ll get a prompt that says “Allow Access to Data.” Make sure to choose Deny.
Step 5: When the Enable Oculus Link prompt appears, select Enable.
So, this is one of the best way to connect an Oculus Quest 2 to a PC. Let’s find out the next.
Using Air Link, connect an Oculus Quest 2 to a PC.

If you have a Quest 2 headset and prefer to use a wireless connection, follow the steps below to connect your headset using Air Link. Only Quest 2 headsets are compatible with this method. You must update both your Quest 2 and the Oculus program on your PC to version 28 (v28) or later.
Step 1: Open the Oculus app on your PC and select Settings. Select the button next to Air Link on the Beta tab.
Step 2: To access the menu, put on your headset and push the Oculus button. Select Experimental Features from the Settings gear icon.
Step 3: Select the Air Link button from the drop-down menu. Continue is the option.
Step 4: Select your PC from the Available PCs list that opens and select Pair. Select Launch once it’s finished pairing.
To pair your PC with your Quest 2 for the first time, follow the steps above. Future connections should simply require turning Air Link on from the Quick Actions menu in Settings after the initial pairing. This also one of the best way to connect an Oculus Quest 2 to a PC.